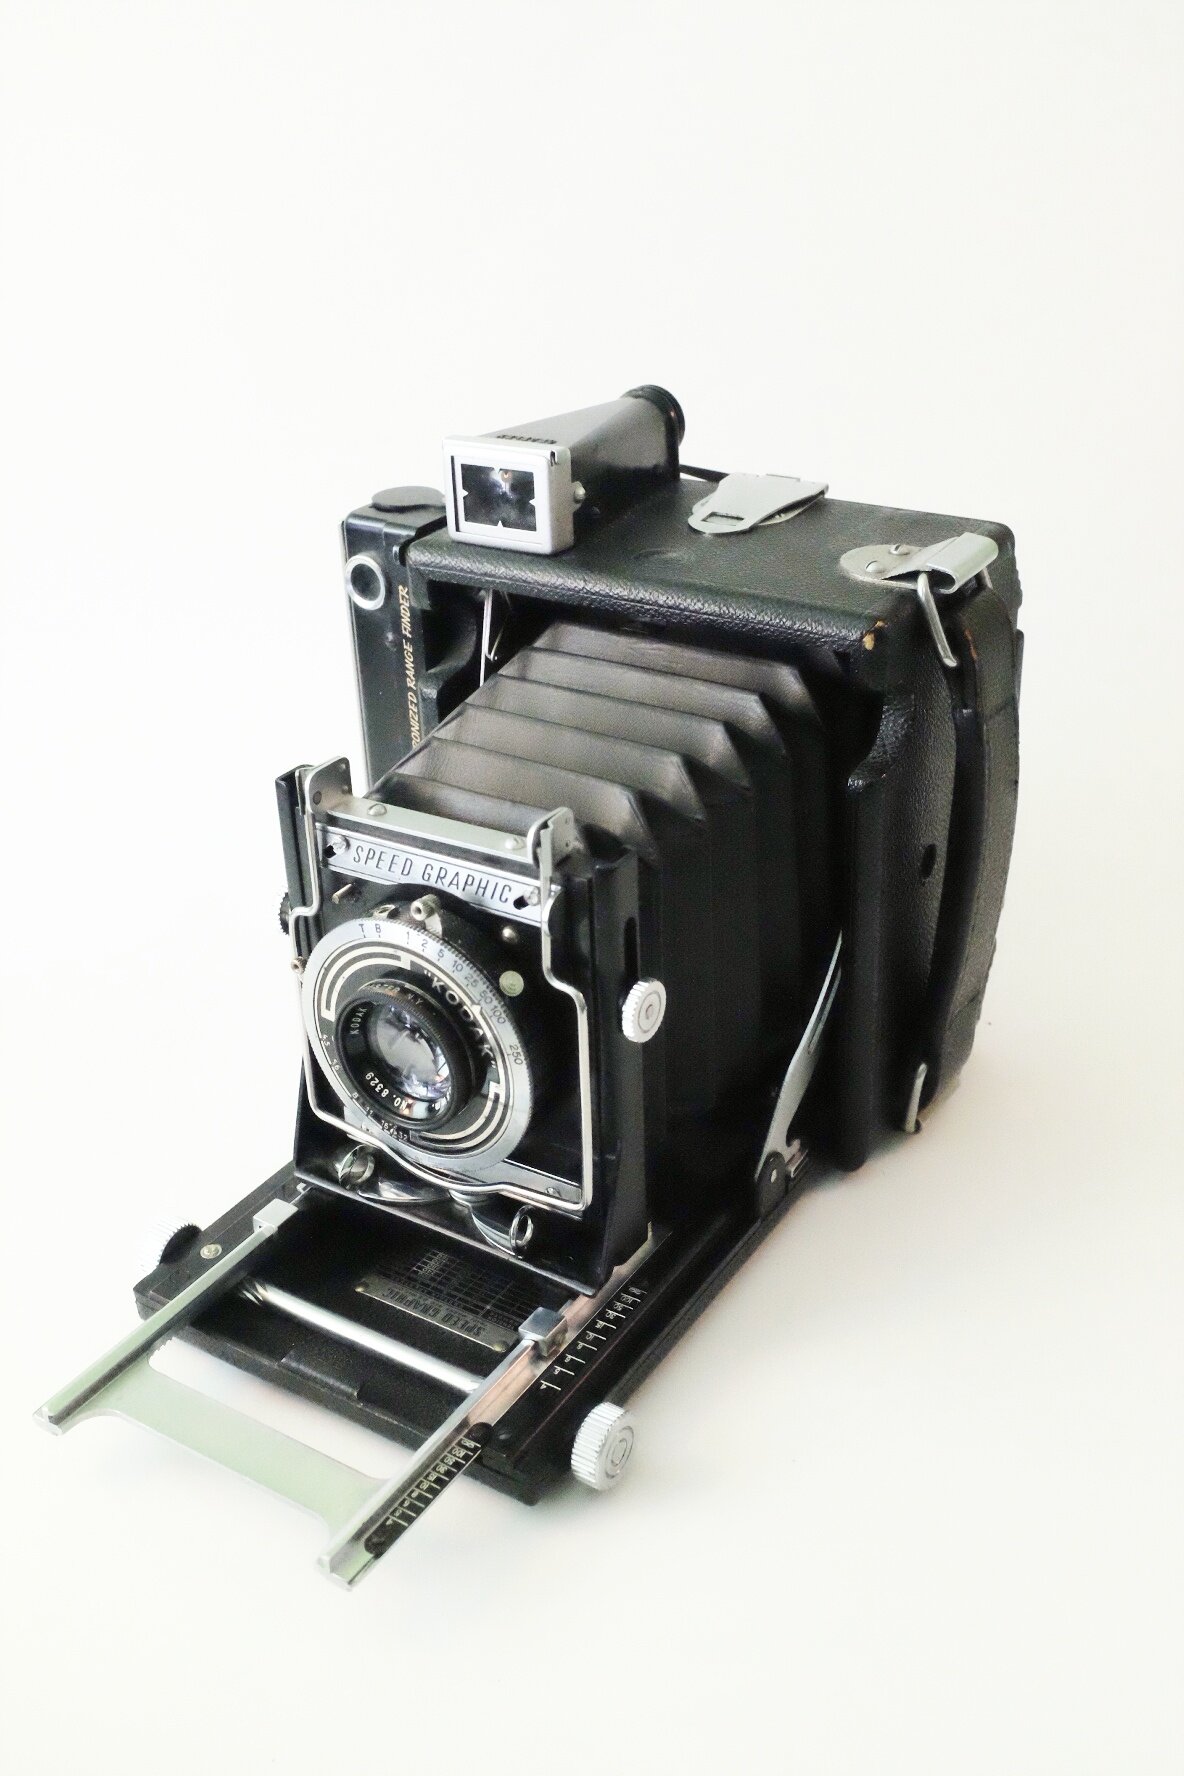
 If you have ever paused and thought to yourself “my photography is too easy, there is nothing to frustrate me,” then I am tickled as a pickle to introduce you to the Graflex. It is a pretty amazing camera, but has some charming — for lack of a better word — idiosyncrasies. I think the best way to illustrate both the cool factor and the “Oh, hell no” factor of this camera, I am just going to walk you through shooting with it.
Loading the Film
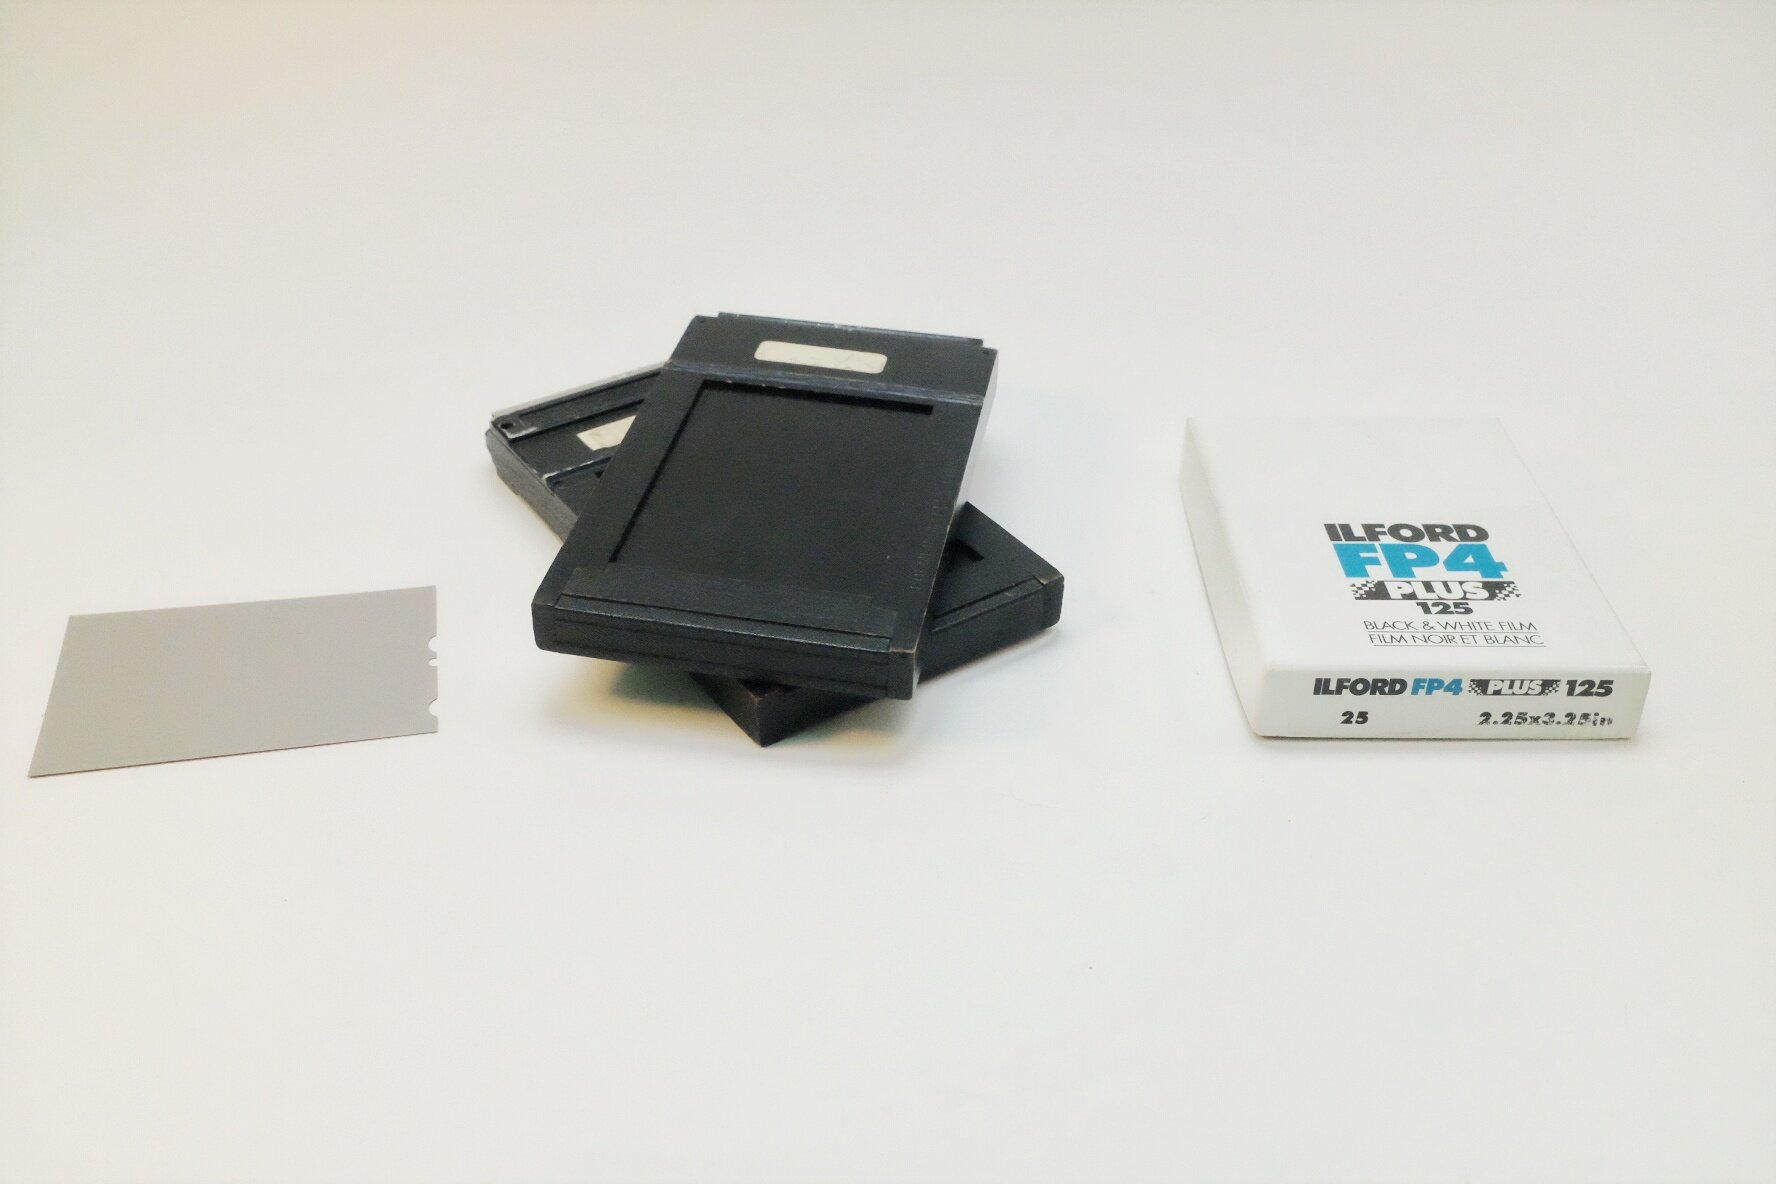 To load the film, you first get a box of 2×3 film sheets. Then you grab your wooden, yes wooden, film holders*, and you load one sheet per side, in a dark bag or completely dark room. Yes, that’s right, in the dark. The film is light sensitive. The anatomy of the film holder breaks down like this: It is a small wooden frame that has a removable dark slide that fits in a specific groove. Then you have an additional set of grooves that the film slides into. The film itself is inside a small box the size of a wallet, but the film is also kept inside a black light-proof plastic bag. You open the plastic bag in the dark, remove the film and orient it so the emulsion side is facing outward… in the dark. Then you very carefully slide the film into the tiny grooves in the holder so it is properly secured… in the dark. Finally, you slide the dark slide into its grooves… in the dark. One this is done, you flip the film holder over and load another sheet. I’m no pro, but on a good day this takes me about ten minutes to load 6 sheets (3 holders).
Composing and Making the Photo
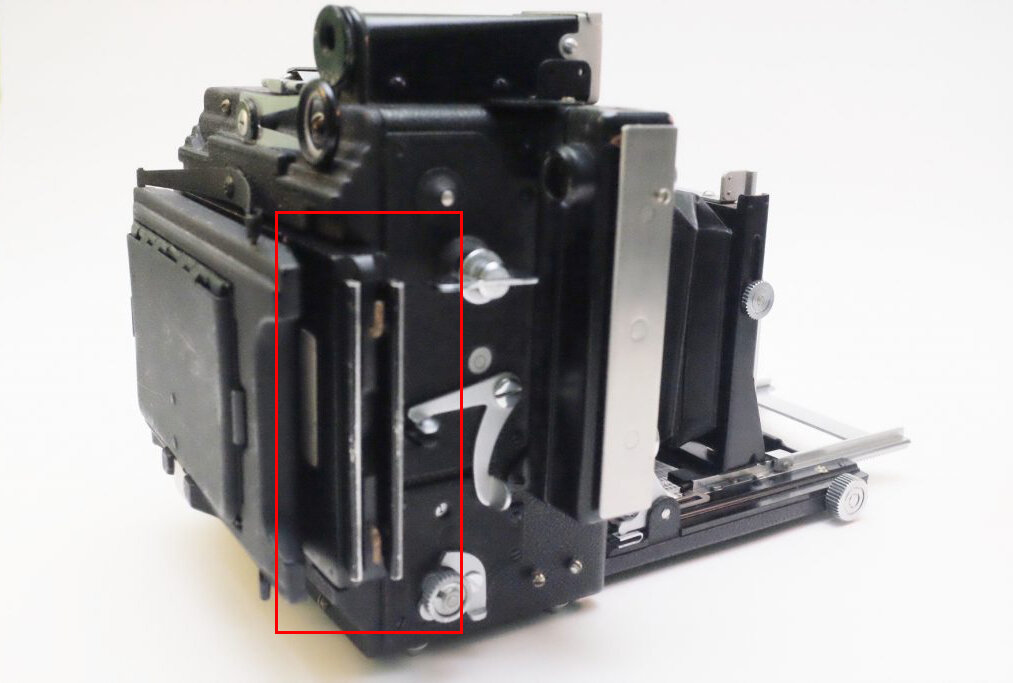
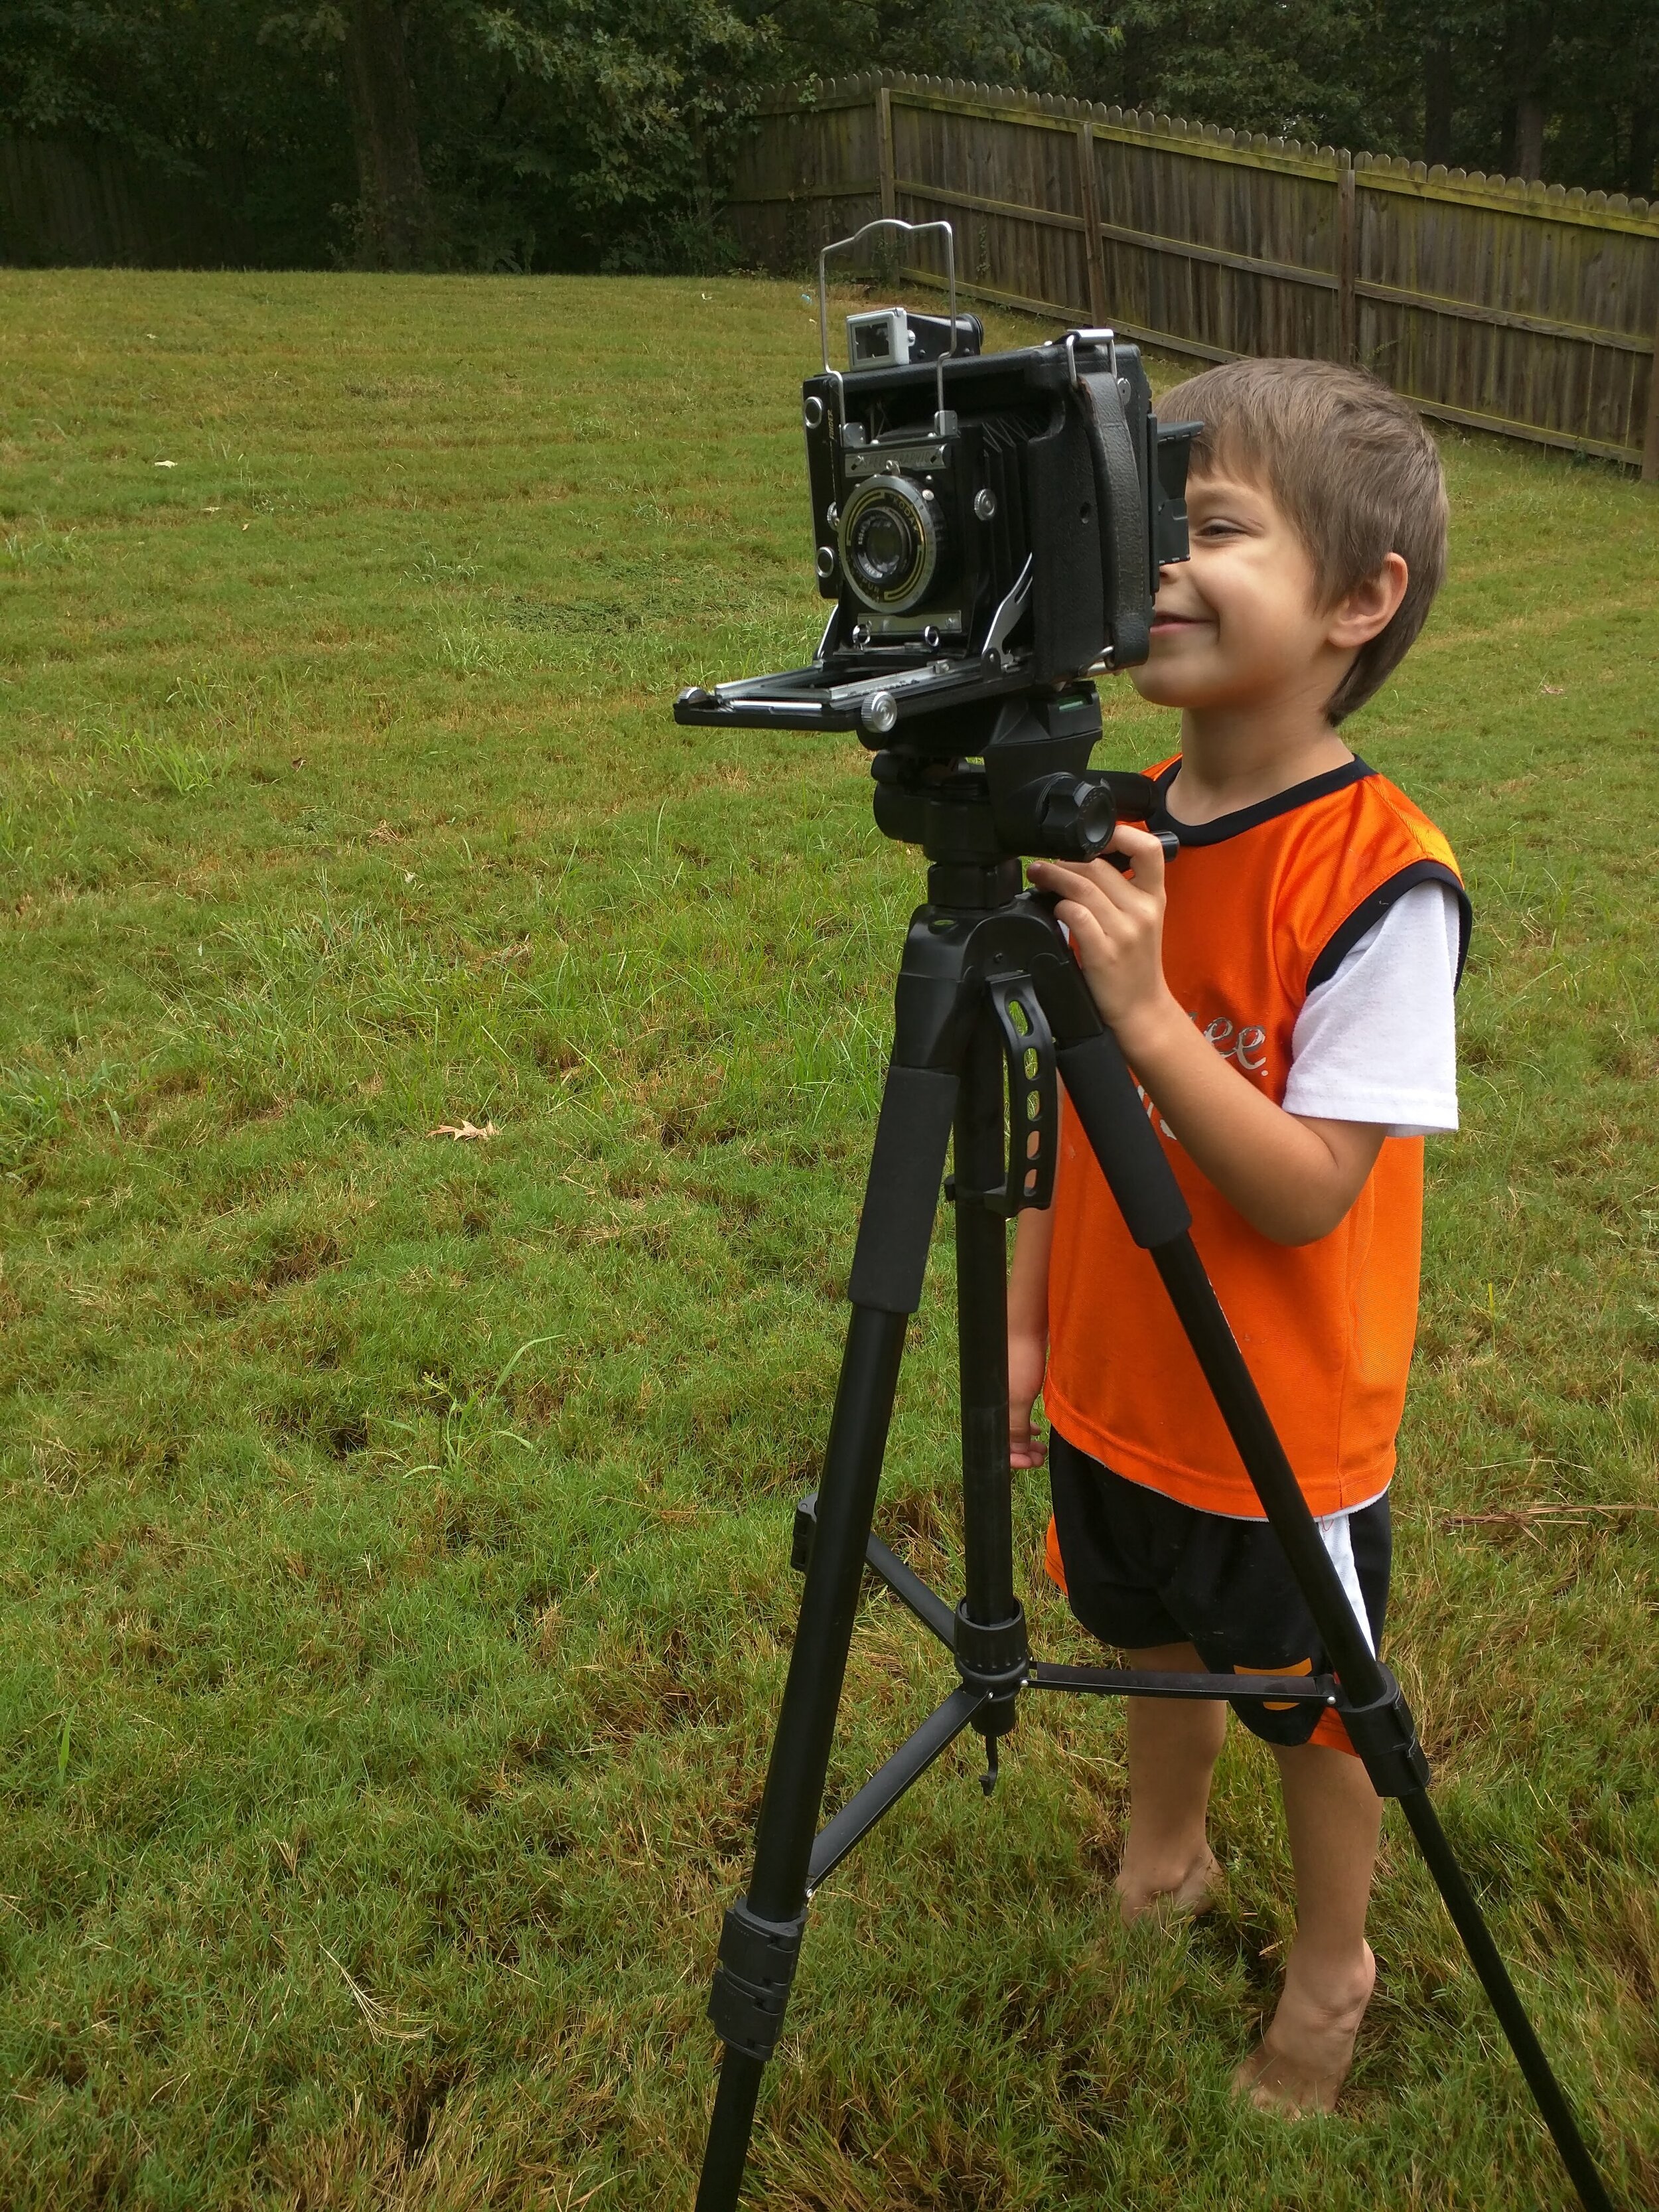 You might think that the next thing to do is to load the film in the camera. You’d be wrong.** No, you take the camera to the location you wish to photograph. Once there, you break out the tripod. While the camera can be handheld, it is a bit bulky. This camera has two shutters, one focal plane and one leaf. To compose through the lens you must first set the camera leaf shutter speed to “T” and open it, then open the focal plane shutter with a lever and winder on the right side of the camera and open the back panel to look through the ground glass. While looking at your upside down subject on the ground glass, you use the wheels on the front rails to move the lens and bellows and focus your subject. Once your subject is in focus, collapse your viewer window (it’s spring-loaded), and set your shutter speed and aperture. Remember those film holders ? Yeah, grab one and carefully slide it between the camera and the ground glass viewer like a sandwich.
Developing the Film
Developing is another adventure in vexation. To develop the film, you do the reverse of loading it. However, unlike developing 35mm film, there’s no auto-loading spool to do the heavy lifting. It requires carefully taking the film out of the holders in the dark one at a time, and loading them into a Cut Film Developing Tank … in the dark. Then you fill the tank with enough developer to cover the film and proceed as normal. Well, as normal as can be expected. This particular style of tank doesn’t allow inversions, only sideways movement. This is fine until you have to drain one chemical and move to a new phase in development. Conveniently, there is a corner of the tank that allows you to empty it. Inconveniently, you have to have the internal film holder in the correct direction or all of your film slides out and floats around in the tank effectively ruining your film. This is pretty much how I have blown through 25 sheets and have successfully developed four shots. Drying requires some creativity, too, since there is not much border to grip.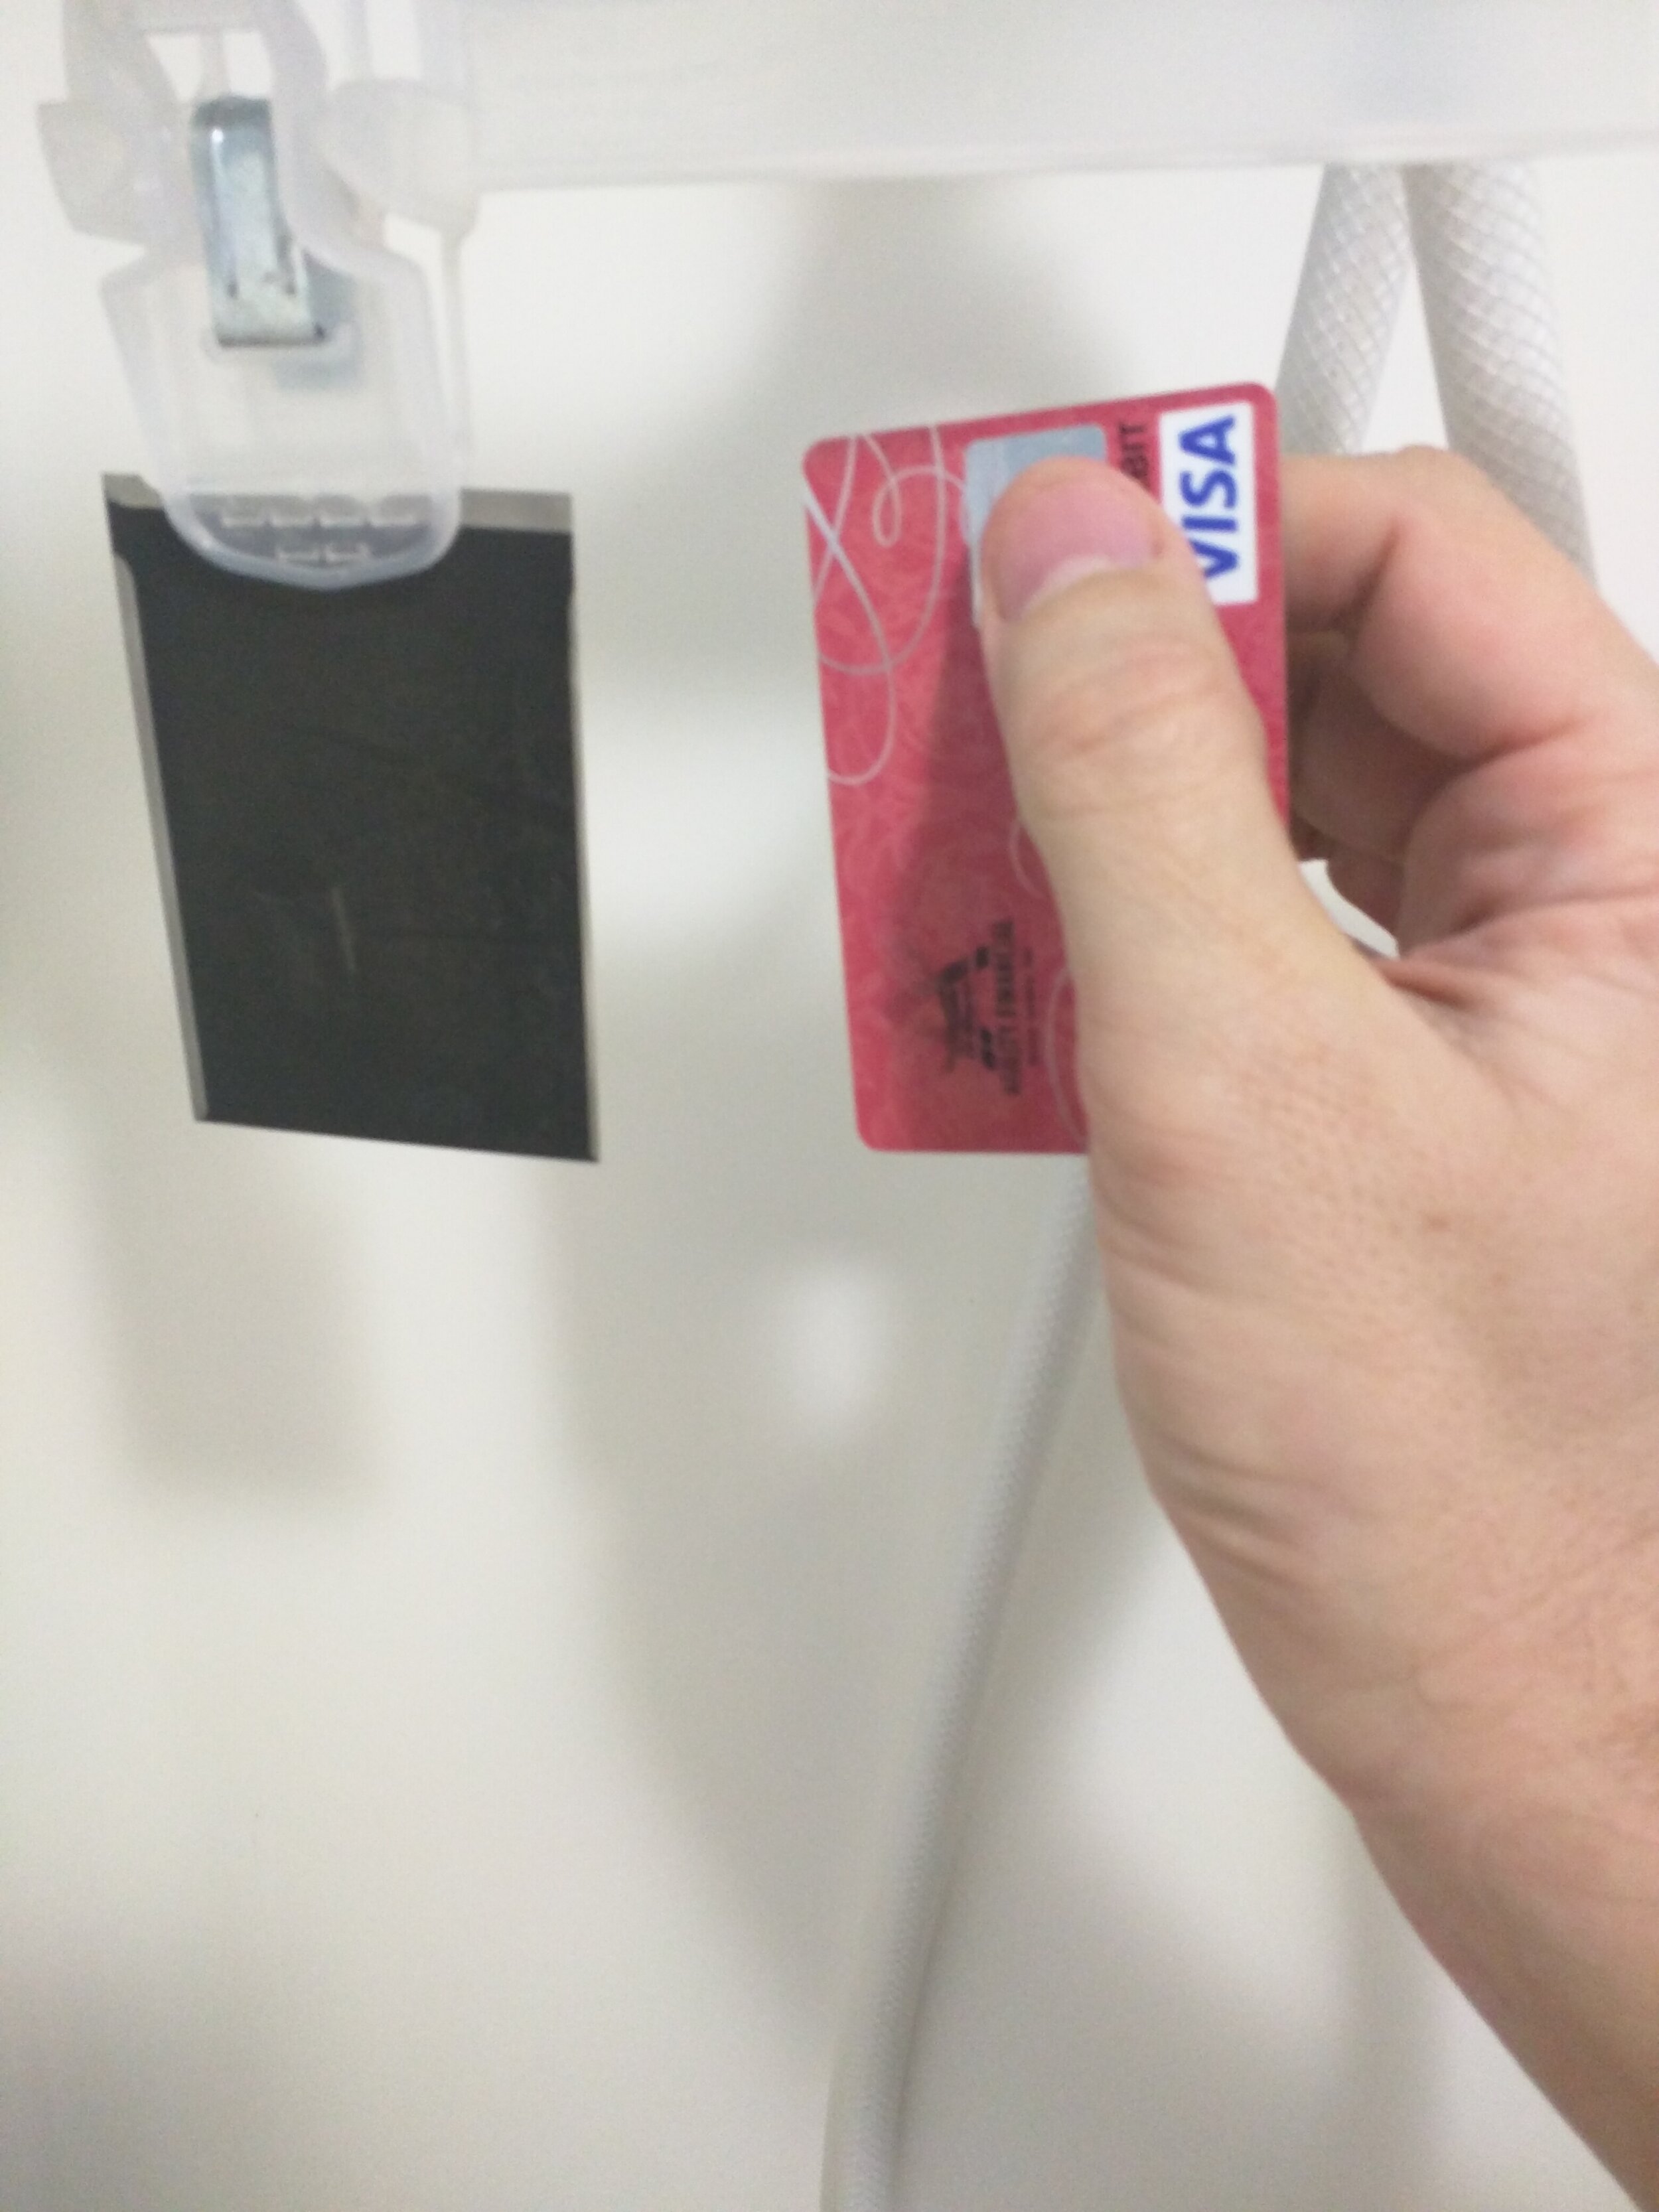
The Results
I would love to say I have had a few good session with the camera since it is such an interesting piece of kit. However, between loading and developing, it has been a mixed bag. I am sure part of it is my level of skill shooting a camera 30 years older than me and on a film I have little experience with. At this time, I only even have one shot that I can dig up, and that was taken today. The other five were floating freely in solution, completely blank. This, however, was most likely due to a failure of the photographer, not the developing tank. The picture below, conveniently the one from the credit-card comparison shot above, was developed in Delta Std Caffenol for 11 minutes.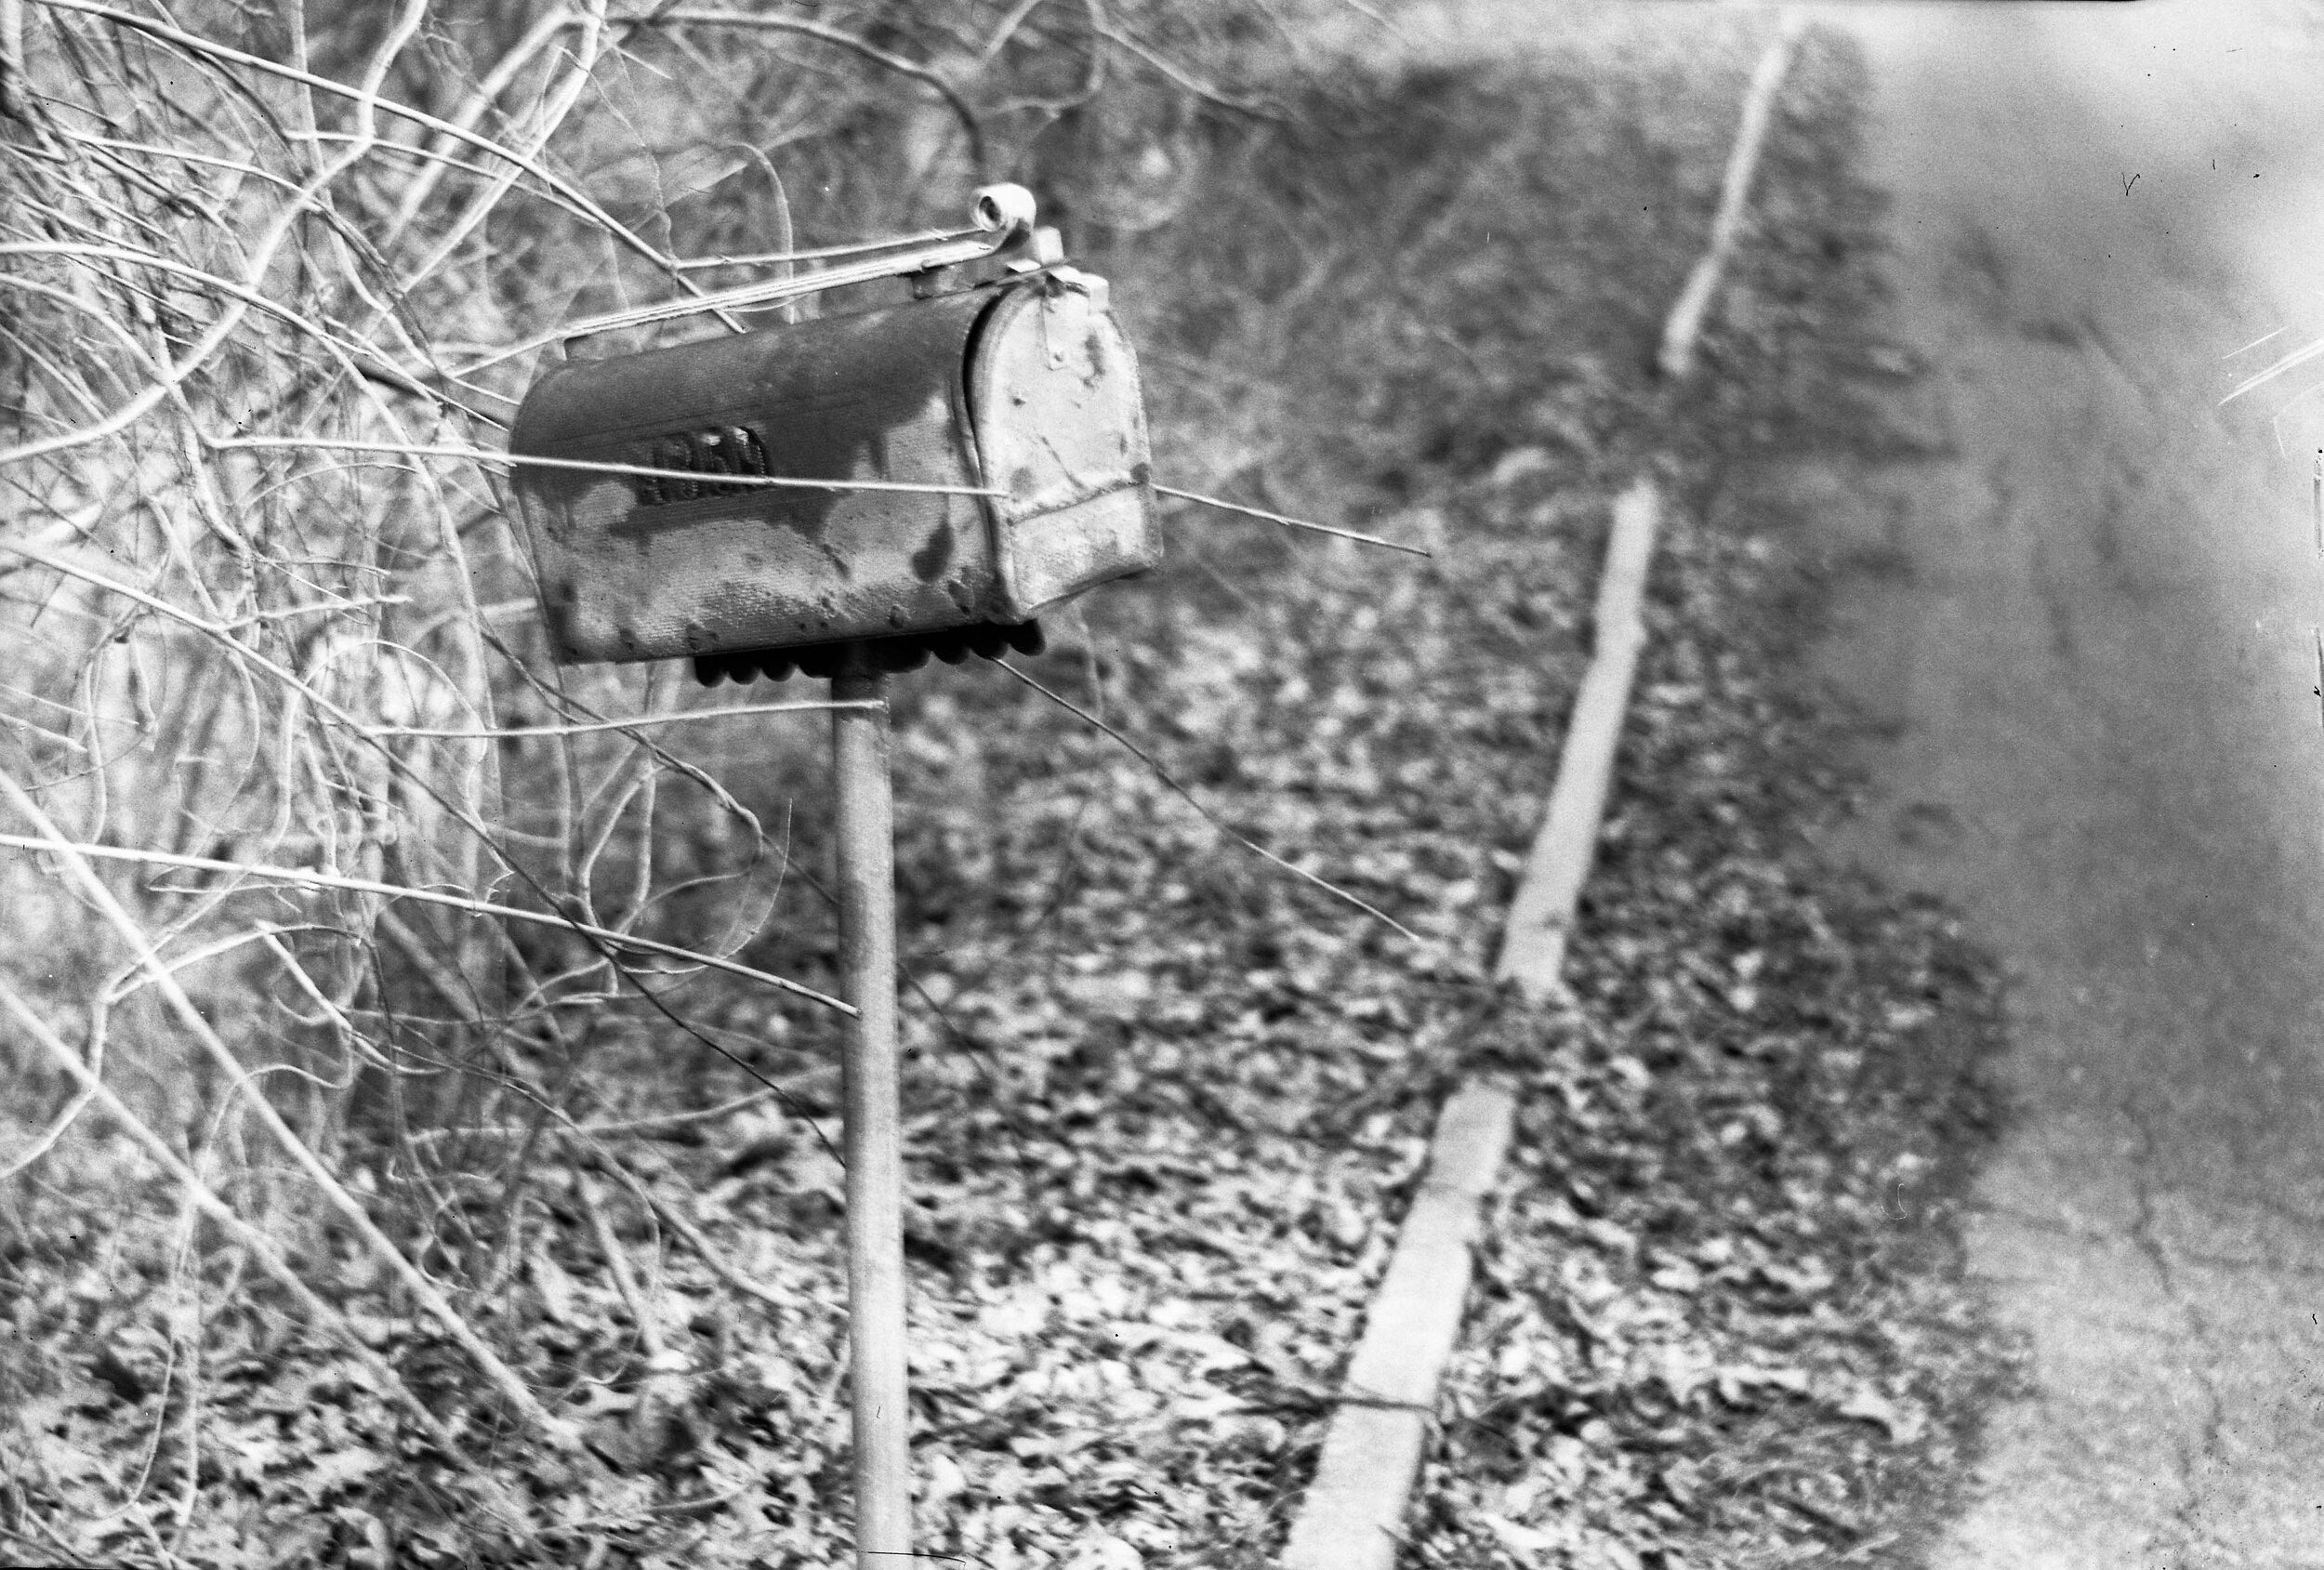
Final Thoughts
This is a really neat camera. Minus what seems to be a sticky leaf shutter, it is in working order. The bellows don’t have holes, the focus is spot on, and the nostalgia factor is pretty high. It is a big camera, though. If you get one, get a tripod. It has a handle, but it is still at least 5 pounds or more. Another recommendation would be to use the attached rangefinder in lieu of the ground glass. While the glass has a high cool factor, trying to frame an upside-down subject with a big heavy camera is just a pain in the ass. Overall though, not a bad camera to have in the collection. * The alternative to the original wooden film holders is converting the camera to a 120 film camera with a 120 back. They’re all over eBay for around $50, although I’ve read on more than one site that the ones with a winder lever should be avoided due to them leaving slack in the film that causes distortion and / or uneven exposure.** There is more than one way to compose the image and focus. The Graflex comes with a coupled rangefinder connected to the side of it. Once the focus is attained with it, the shot can be recomposed through one of 3 additional viewfinders located on the camera: a glass viewfinder, a wire square, and a wire circle. I recommend using the rangefinder for accuracy.


Inb42018 - Goodbye 2017! - Aragon's Eye
[…] that I’ll be trying again this year and writing about each one separately. My dad ordered a Graflex Mini Speed Graphic for me as a gift, and I just this week snatched up a Zenza Bronica […]
Sam Warner
Cool post!
Aragon Etzel
Thanks man! I still need to get the 120 back for it.